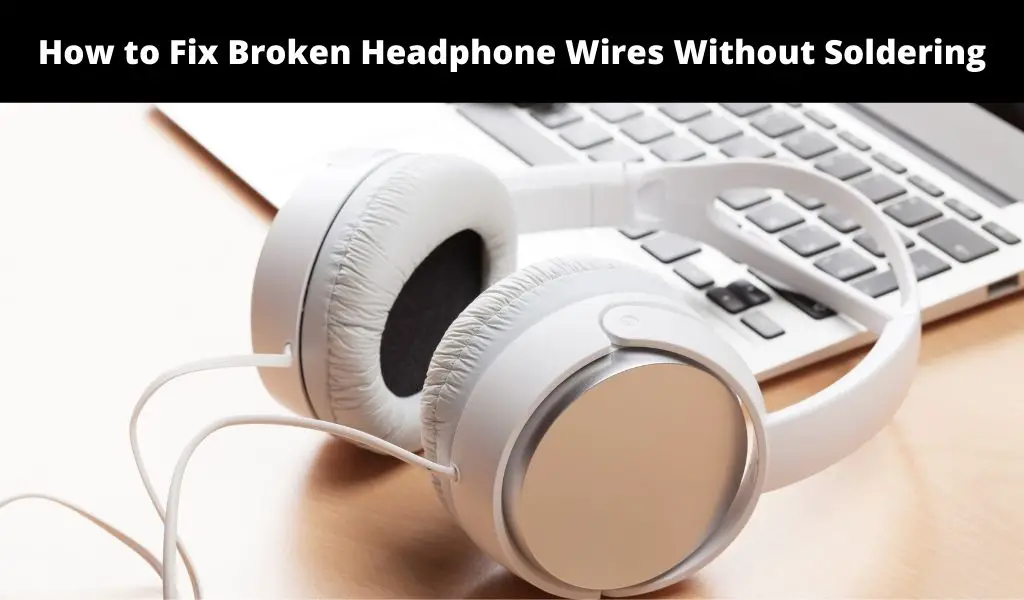
So your headphones are giving you a problem? Are you sick of the sound coming out of only one earbud or the sound being way too quiet? Perhaps the microphone isn’t working. All of these problems are a result of damaged headphone wires. If you’re too stubborn to let go of your headphones or you simply want to put off buying another pair for a bit more time, then you came to the right place.
We’re going to tell you everything you need to know about fixing broken headphone wires. You may need to gather a few necessary tools as well as a large dose of patience. Fixing your headphones wires needs proper care and time, but we’ll let you in on all the secrets on how to get it done.
How to Fix Broken Headphone Wires Without Soldering
One of the biggest problems encountered are broken headphone wires that require soldering. However, not everyone is able to perform such a task. So how do we approach fixing headphone wires without a way to solder them? First of all, you need to learn a few things.
How to Strip the Wire
Your headphone’s wires are covered with plastic, so you’ll need to strip the cover off to reveal the wire underneath aka stripping the wire. Typically this is done with pliers, wire cutters, and wire strand.
- Locate the holes with number labels on your wire strippers. This is the measurement of the hole’s width.
- Next, determine what the width of your wire strand is and cut off a small piece of wire,
- Insert the strand in the appropriate measurement on your wire strippers.
- Squeeze the pliers and make sure to pressure the side where you want the insulation to slide off.
Twist the Wires
When you have the wire strand and your stripped wire exposed, you need to twist them together. All you have to do is place the wires next to each other, pinch them, and twist while you hold them together.
There are 4 main ways to fix headphone wires without soldering: the crimping method, with an alligator clip, electrical tape, and hot glue. We’ll tell you how to do each method.
Fixing Headphone Wires with an Alligator Clip
Be wary that the alligator clip method is our weakest method to fix headphones. If you’re looking for a quick, temporary fix, this should work perfectly. You need some alligator clips and your headphones snipped with the wires with the ends stripped where they meet. Simply place the alligator clip onto these wires in a way that allows the teeth to come in contact with both of the wires. Now they have conduction, offering your headphones a few extra hours of life.
How to Fix Broken Headphone Wires With Tape
Fixing your headphone wires with tape is one of the most convenient solutions. Tape is easy to apply, but just make sure it’s a plastic insulating tape.
Method #1
What You Need
- Broken headphone wires
- Plastic insulating tape or shrink tubing
- Wire cutters
- Screwdriver
- Sandpaper
- Spare wire
- Solder alternative – lighter
Step-by-step
- Locate the part where the wires are double bonded. Here, you want to pull the wires apart about half an inch.
- Use a wire cutter to help remove the insulation off small sections of both the wires.
- Notice the 3 different wire colors: Red, Green, and Copper
- Now it’s time to take apart the headphone by pulling off the pads. You may need to use a small screwdriver to properly remove the padding. When that is done you should see some wires. Locate the disconnection, as this is where you will need to reconnect.
- Take your plastic insulating tape or shrink tubing and make sure they are nearby and ready. If you’re using shrink tubing, then make sure to consider that the tubing will be smaller once contracted.
- Use sandpaper to sand away the insulation on the wires. Do this until the wire appears copper.
- Solder the wires together. To do this, you first need to cut the insulation with wire cutters to reveal the wire. Join the two wires together, twist them, and heat them up with a lighter until they metal starts to melt.
- When the metal melts, use your spare wire to help press the wires together tightly.
- Wrap the insulating tape completely around any exposed wires. This will help keep the solder together while providing a sturdy structure.
Method #2 – Replacing a Broken Jack
What You Need
- Replacement jack
- Scissors
- Wire cutters
- A lighter
- Insulating tape or shrink tubing
- Spare wire
Step-by-Step
- Cut off the broken headphone jack about an inch away from the end.
- Remove additional wire cover with a wire stripper to expose the wires.
- Sort the wires by color and burn off the colored coating with a lighter.
- Match the wires together by color and make sure to twist the ground wires as well.
- Slide on the shrink tubing if you are using any.
- Solder the end of each wire with your lighter, making sure to dab it with the spare wire for a secure closure.
- Take your new replacement jack and cut it, leaving 2+ inches of length.
- Repeat steps 3, 4, & 6 for the replacement jack’s wire.
- Match the headphone wires to the new jack plug wires and light them to fuse them together. Again, use the spare wire to secure the wires together.
- Slide over the shrink tubing or wrap the area with insulating tape to keep the wires secure.
How to Fix Headphone Wires Without Cutting Them
If you don’t have any tools handy, you may be able to fix them without needing them. Follow these steps to fix your headphone wires without cutting them:
- Put your headphones on and listen to something like you would normally.
- Twist, bend, and adjust the cord until you notice a sensitive spot. You will be able to locate it while you listen closely to the audio. Most times a short in headphones occurs either near the earpiece or the plug-in jack.
- When you locate the problem area, focus on finding a position that creates the clearest sound possible. It may take some gentle twists and turns as well as several tries to get the best sound, but be patient and listen carefully.
- Hold pressure on the cable in the exact spot and wrap either electrical tape or duct tape around it. In many cases, the tape’s pressure is enough to keep the wires within the cable touching.
- Congrats! You just fixes your headphone wires without cutting them or using any tools!
How to Fix Headphone Wires With Mic
If you’re someone who uses your headphone’s microphone for calls, video chats, streaming, and other uses, then there is nothing more annoying than a microphone that doesn’t work. It’s worth mentioning that the methods we just shared with you are all possible fixes. However, you should first try cleaning your phone and microphone before performing surgery on your precious headphones.
Removing Dust & Dirt
Sometimes a dust or dirt blockage is enough to prevent the sound being picked up in your microphone. Even if you don’t suspect this is the case, you should still try it out to see if this is a possibility. Blockage can either be in your phone’s headphone jack or in the small crevices of your microphone. All you need to perform a proper cleaning on these parts is a toothpick & a thin piece of toilet paper, paper towel, or tissue.
Take the paper and wrap it around the toothpick. Brush the inside of your phone’s headphone jack lightly to pick up any trapped dirt or debris. Make sure there is no moisture at all to prevent damage to your phone. For the headphone’s microphone, take a new piece of paper and wrap it around the toothpick again. Brush the area where sound is picked up (usually a small hole or screen) to help loosen any dirt. You can also blow on it gently to move out any debris.
Don’t Forget to Check the Warranty
Especially if your headphones are fairly new, you may be eligible to receive a free replacement. Try to see if you have a valid warranty before trying to perform the other methods we showed you. Cutting your headphones may void your warranty, removing the possibility of getting a replacement for your defective device.
If You Need to…Buy a New Pair
If you’ve tried everything and you’re still not having luck, then the last case scenario is that you need to get a new pair of headphones. The bright side is that there are many affordable headphones you can buy for a quick replacement. They will be a great way to allow you some time to save up for a higher quality pair. If you have the money, then go for a high quality pair right away to ensure you have headphones with more durability.

