So you’ve purchased a suitable multimeter. Now you want to know how to use it to determine if you have a short circuit in your home or not. Save yourself time and money and the trouble of a potentially expensive electrician visit by following the step-by-step instructions below.
How to Find a Short Circuit with a Multimeter ( Step by Step Instructions )
Step 1: Preparation and Safety
Be sure to completely shut off the source of power to the device or the circuit which is being tested. If you are testing a device with batteries, remove them. Make sure that the device or equipment you are testing is fully unplugged from the AC wall outlet.
WARNING: Failure to shut off all electrical power to a circuit when testing that circuit may put you at risk for a dangerous shock or electrocution! Make doubly sure the power to the circuit is cut off!
Step 2: Turn on the Multimeter and Set It to Continuity or Resistance
Switch on the multimeter. Use the selector knob to set the multimeter to the resistance setting. If your multimeter has the continuity function, use that setting instead of the resistance setting.
Helpful Tip: If your multimeter has multiple settings for resistance, it is a good idea to choose the resistance scale on the multimeter which is the lowest.
Step 3: Test the Function of the Multimeter
Take the probe tips of your multimeter and touch them together. If your multimeter is set to the resistance setting, the reading for resistance should be zero or nearly zero. If your multimeter is displaying a reading significantly higher than zero, calibrate the multimeter so that the reading displays zero when the two probes are touched together.
If your multimeter is set to the continuity setting, generally, a light will flash or a tone will sound to indicate the presence of continuity and the reading will be zero or nearly zero.
Step 4: Identify and Locate the Circuit Component
Find the portion of the circuit or the component that you wish to check for a short circuit. The part being tested probably should not have an electrical resistance of zero. For example, the input of the audio amplifier sitting in your living room next to your TV will most likely have a resistance of a few hundred ohms (at minimum).
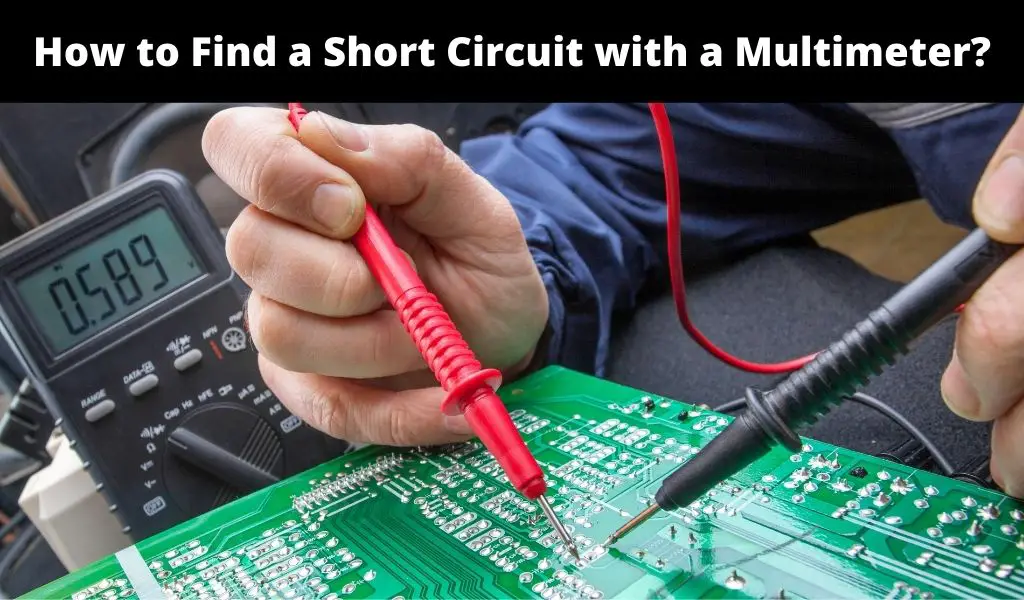
Step 5: Apply the Probe Tips to the Circuit
Your multimeter will probably have two probes: a red probe and a black probe.
Take the metal tip of the black-colored probe and touch it to the electrical ground or chassis of the circuit. Take the metal tip of the red-colored probe and touch it to the section of the circuit that you believe may have a short circuit.
Both tips of these probes must be touching the metal parts of the circuit. This may be circuit board foil, the lead of a component, or a wire.
Step 6: Check the Display of the Multimeter
As you are touching the red and black probes to the metal parts of the circuit, pay attention to the readings given by the multimeter display.
If the resistance is low—a reading very close to zero, for instance—then the test current is flowing through and the circuit is continuous.
However, if there is a short circuit, the multimeter display will read 1 or OL (open loop) to indicate a lack of continuity and therefore a short circuit in the device or circuit you are testing.
If the multimeter is set to the continuity setting, the multimeter will display a reading of zero or nearly zero and sound a tone to indicate continuity.
However, if the multimeter displays a reading of 1 or OL (open loop) and does not beep or sound a tone, then it indicates a lack of continuity. No continuity means that the circuit or device you are testing has a short circuit.
Background Info: What Is a Multimeter?
A multimeter, also known as a multitester or volt ohm milliammeter (VOM), is a measuring instrument that combines a number of different electronic measurement functions into one unit. The average multimeter will be able to measure current, voltage, and resistance.
Essentially, a multimeter combines the functions of an AC voltmeter, a DC voltmeter, an ohmmeter, and an ammeter into one. It measures multiple values. Hence, the name multi-meter.
The multimeter was invented in the 1920s. Its invention is generally attributed to Donald Macadie, an engineer who worked for the British Post Office. He was frustrated with the necessity to carry so many different instruments when he was maintaining telecommunications circuits. Because the instrument he invented was able to measure amperes, volts, and ohms, it was named the Avometer.
Nowadays, there are two common types of multimeters: analog multimeters and digital multimeters.
An analog multimeter functions by utilizing a microammeter, a micro version of an ammeter (derived from “ampere meter”) which measures the level of current in a circuit, which displays readings by using a moving needle.
A digital multimeter (DVOM, DMM) possesses a numerical display to show readings and may also have a graphical bar to represent the values being measured. Today, the digital multimeter is far more commonly used than the analog multimeter due to the digital multimeter’s greater precision, higher accuracy, and relatively low cost.
However, in some situations, analog multimeters are still preferred, such as when a value which varies rapidly must be monitored, as the moving pointer needle will present to the viewer a greater understanding and clarity regarding what is happening with the value being measured.
Sizes and costs of multimeters can vary greatly.
Some multimeters are devices which are small enough to be held in your hand. These multimeters can be used in field service work, in basic fault finding, or in a classroom or academic laboratory setting. Other multimeters may be relatively larger bench instruments which can possess an extremely high degree of precision and accuracy in their measurements.
A multimeter may set you back as little as $10 (or even less) for a cheap, basic version. On the other hand, some of the fanciest models of multimeters, those which are suitable for use in professional laboratory environments and which possess certified calibration, may cost more than $5000.
Which Kind of Multimeter Should I Buy?
Most of the models you can find in your typical home improvement store will most likely be sufficient for your purposes.
For What Do I Use a Multimeter?
Okay, so you’re not a scientist or an engineer. What possible use could you have for a multimeter in your home? Believe it or not, multimeters have a number of applications in the home for normal people like you and me who may not measure electrical outputs for a living.
You can use a multimeter to test for a short circuit in the wiring of your home. You can test for electrical problems like a short to ground. You can even test with a multimeter for short circuits in a circuit board (in your desktop computer, for example). Locating these short circuits can help prevent a fire or an accidental shock.
Furthermore, you can use a multimeter to test for a short circuit in the electrical wiring of your car. The aforementioned uses are some of the most common and basic ways in which a multimeter can be used by you in the home.


This was very helpful. Thank you