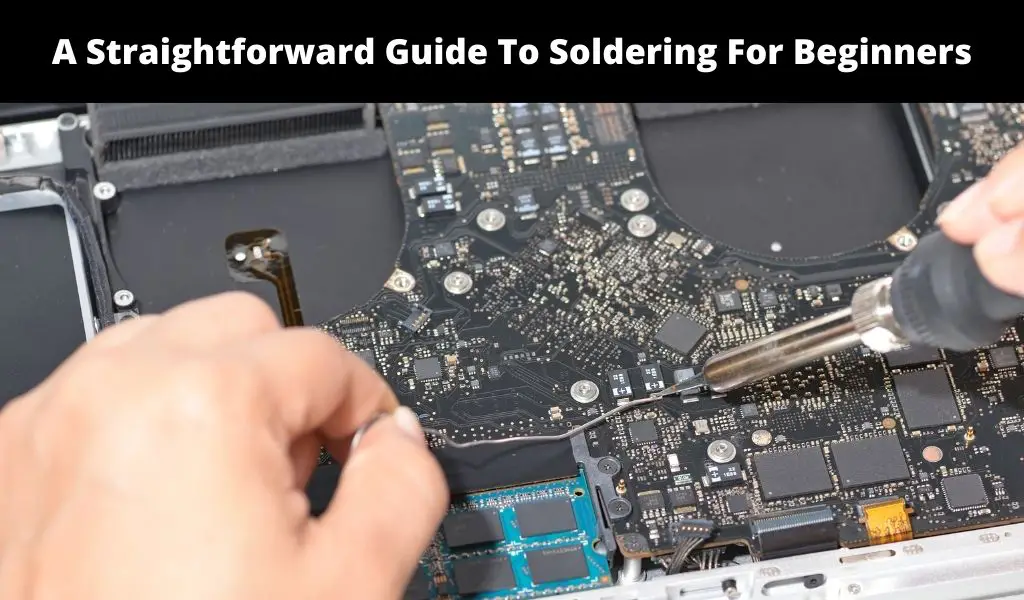
Soldering is a metal joining process that involves melting a metal alloy over wire splice or joint to secure two metal pieces together. Soldering is a great way of joining two wires by stripping wires you wish to join together, wrapping them on one another to establish a connection, and melting the solder directly on the wires to join them securely. The process ends with covering or waterproofing the exposed wires and joints.
The above information oversimplifies the entire process of soldering. If you wish for a complete step-by-step soldering guide, look no further. Here’s what you should know from the process of preparing wires to the actual soldering and covering wires. The guide below provides everything you should know about getting the best mechanical and electrical connection.
Remember, soldering is not just about joining metals. The most notable soldering application is in the electrical industry where the method is used to join copper wires and electrical components together.
How To Solder Two Wires Together: Step-by-Step Guide
Step 1: Gather Your Materials & Tools
To solder perfectly, you’ll need certain materials and tools. Getting everything you need beforehand will ensure you have a smooth, uninterrupted and safe process. In typical soldering applications, you’ll need a soldering iron, solder (preferably lead-free), silicone, wire stripping/snipping tool or a utility knife, heat gun, alligator clips (optional), gloves (optional), and protective eyewear (optional).
Step 2: Prepare the Wires
The first most important step to soldering and establishing a strong electrical and mechanical connection is preparation. The two wires you wish to join together (i.e., copper wires) should be freshly stripped to expose the “naked” copper wire. This step assumes some covering protects the copper wire. Freshly-stripped multi-filament wires must be attended to before the soldering process to create the perfect connection.
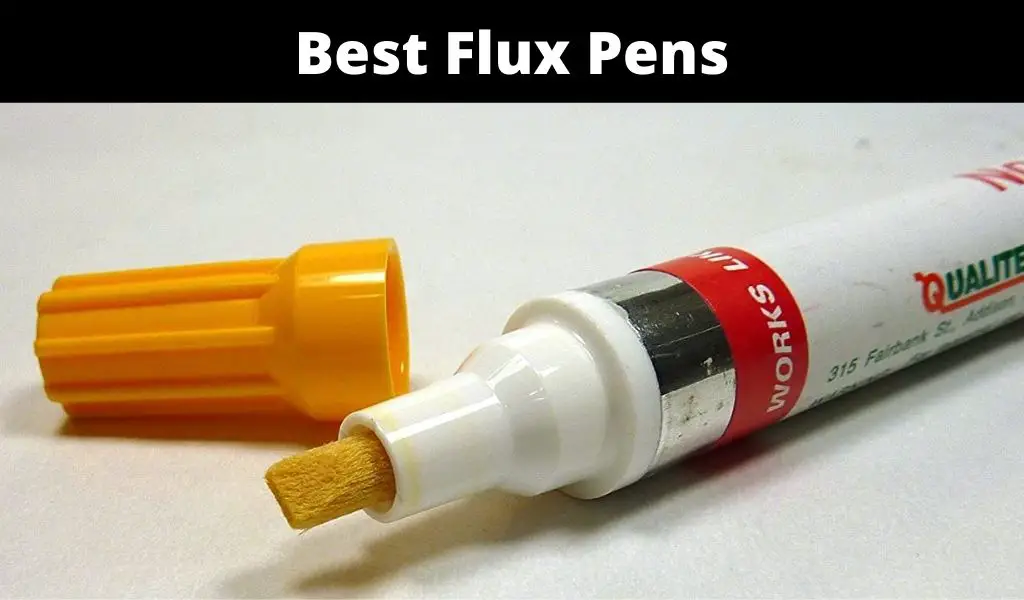
The filaments (tinny wires that make up one wire) should be twisted thoroughly to form one stronger wire. They can also be pigtailed to make them orderly like one entity. Alternatively, a soldering resin can be added to wire filaments to create the same outcome. Soldering resin also assists in guiding solder flow when flux core solder is used.
For a step-by-step guide for preparing the wires, begin by stripping insulation (approximately 2.5cm) from either end of the wires being joined together. You can using a wire stripper/snipping tool from a local hardware store. A utility knife can also work. However, be careful and avoid cutting through the wires. Cutting wire strands can make a fuse blow. If you cut any wires by mistake, start the process again.
When using a wire stripper, squeeze the handles firmly together while pulling towards the end of your wire to remove the insulation. Repeat this on your other wire.
Finish off by twisting both ends of your wires together to join them. The centers of the naked wires should form an X-shape first. Bend one wire down and twist it around your other wire tightly to get the strongest connection. The wires shouldn’t stick or point. Repeat the process of bending and twisting until you have a firm connection.
Tinning the wires: The preparation process can involve tinning the wires, which is simply melting some solder first into the wire filaments before joining them. Tinning makes joining simpler. By distributing heat fast, it takes much less time to heat since the solder is already spread. Tinning also reduces instances of melting wire shielding or damaging components nearby when soldering electrical components on a circuit board.
When tinning, remember to evenly distribute the solder in-between filaments but don’t overdo it and put too much solder. Overdoing the process will make the wires too stiff.
Clamping The Wires Together: Depending on the application in question, it can be advisable to clamp wires together. Alligator clips can be used to hold wires together and ensure they won’t move when soldering the clips are easily available in local hardware stores.
Step 3: Actual Soldering
If you prepare your wires perfectly, you can move and do the actual soldering. You’ll need solder (a combination of many metals with a low melting point, usually tin or lead). Solder melts at approximately 183 degrees Celsius or 361 degrees Fahrenheit.
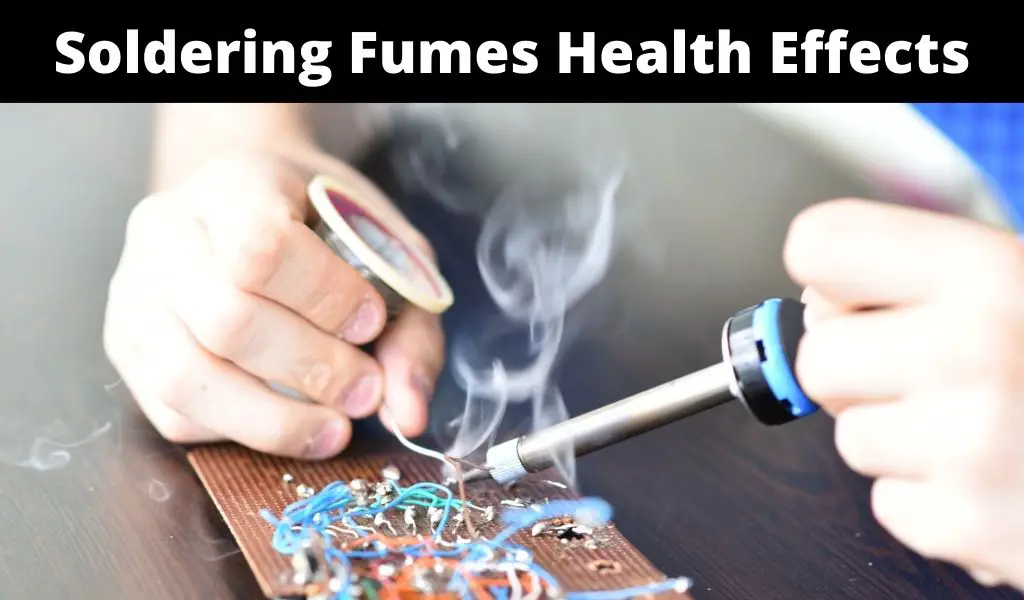
Precautions when soldering: Avoid solder that contains lead, given the proven risks of exposure to lead. If you must use solder with lead, consider wearing gloves and soldering in a properly ventilated area. However, lead-free solder is generally recommendable. What’s more, wear protective eyewear. Most importantly, keep the soldering iron on a safe place to avoid burns and fires.
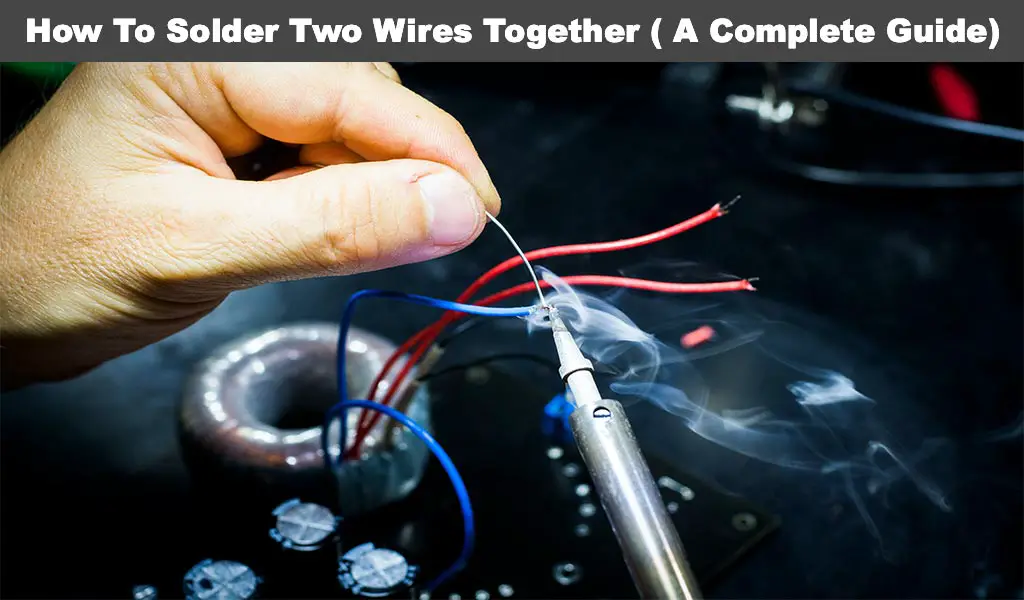
To start soldering, melt your solder on your soldering iron. You should do so on the tip to avoid oxidation. Your soldering iron should be hot before you begin the process. While holding your solder directly on the tip of your soldering iron, melt the solder and direct the melted solder on the wires you are joining.
The soldering iron should be on throughout. The placement also matters. For instance, it should be touching the wire splice when you begin to allow a heat transfer to the wires. This also allows the flux to melt. The time it takes to finish soldering will depend on the thickness of the wires in question. Thicker wires take longer than lower gauge wires.
When soldering, melting the solder is as easy as taping your solder on the hot iron. Either way, you should run your hot solder on top of wires. Run the solder over your entire connection while traveling in between wires. You should stop when you have a significant layer of solder on the entire connection.
This step ends by allowing the soldered joint to cool down. Again, the time it takes for your joint to cool down completely depends on the size of the connection area. However, soldered joints usually solidify and cool down in a few minutes (1-2 minutes). After completing the process, put your soldering iron away. You shouldn’t disturb the joint until it dries and cools down otherwise, you will loosen the connection.
Step 4: Seal Your Soldered Connection
The final connection should be soldered. You can use silicon paste first to form an insulated/waterproof connection. Silicone paste is a dielectric grease that stops wires from rusting. If you don’t know the precise amount of silicone to use, a bead-sized amount is enough to form a thin, even layer. Silicone paste is readily available in local hardware stores.
After applying silicone, you need to cover the exposed wires using protective material such as heat-shrink tubing. The tubing should be put before the wires are joined together mechanically. Ideally, the tubing is slid over one wire before they are intertwined together. After soldering, the tubing should be put back over the soldered joint. Ideally, the tubing should cover the entire joint and go over by 0.25 inches or more. It’s worth noting that the silicone can ooze out from the tubing, provided enough is left to protect the wires.
Once the tubing is in place over the soldered joint, shrink the tubing using a heat gun. You can find a heat gun in your local store. To avoid burning the tubbing, the heat gun should be four to five inches away. Also, use the lowest setting and direct the heat towards the center while working on the entire tubing. Heating from the center outwards allows excess silicone to ooze out via the sides. When the tubing is tightly in place on the wire, you can turn off the heat gun and allow your soldered connection to cool down.
Conclusion
Soldering two wires together is as simple as following the above steps to the letter. While some steps may require modification based on the soldering task at hand, you have everything you need to make a strong soldered joint that is electrically sound. While other metal joining methods like brazing require highly specialized skills, soldering is simple provided you follow a detailed guide such as the one we have prepared above.
As a DIY enthusiast, you can follow the above instructions step-by-step to join any two copper wires together via a process commonly known as inline splicing. The guide can also be used when joining electrical components together. You can handle your DIY electronics projects perfectly that require soldering. The instructions provided above are perfect for individuals soldering for the first-time and those with intermediate soldering skills looking for the best outcome.
Important Tips and Precautions When Learning How to Solder Two Wires Together
While some of the soldering tools and equipment we’ve mentioned above are optional i.e., protective eyewear and gloves, they prevent notable safety risks like burns, shock and protect the eyes from irritation, among other risks.
You should also be extremely cautious when soldering, given the process involves heat that can easily cause a fire or damage property. What’s more, you should work in a properly ventilated area to avoid inhaling harmful vapors. Lastly, choose solder that isn’t lead-based to avoid exposure to serious health risks.

